We live in a world where things are constantly changing. So if you want to stay up to date on what’s happening, you’ll want a good News app.
To help you learn some cool tech and stay current, in this blog post we’ll build a News Application for Android using React Native. It will fetch headlines from different news channels and show them by category.
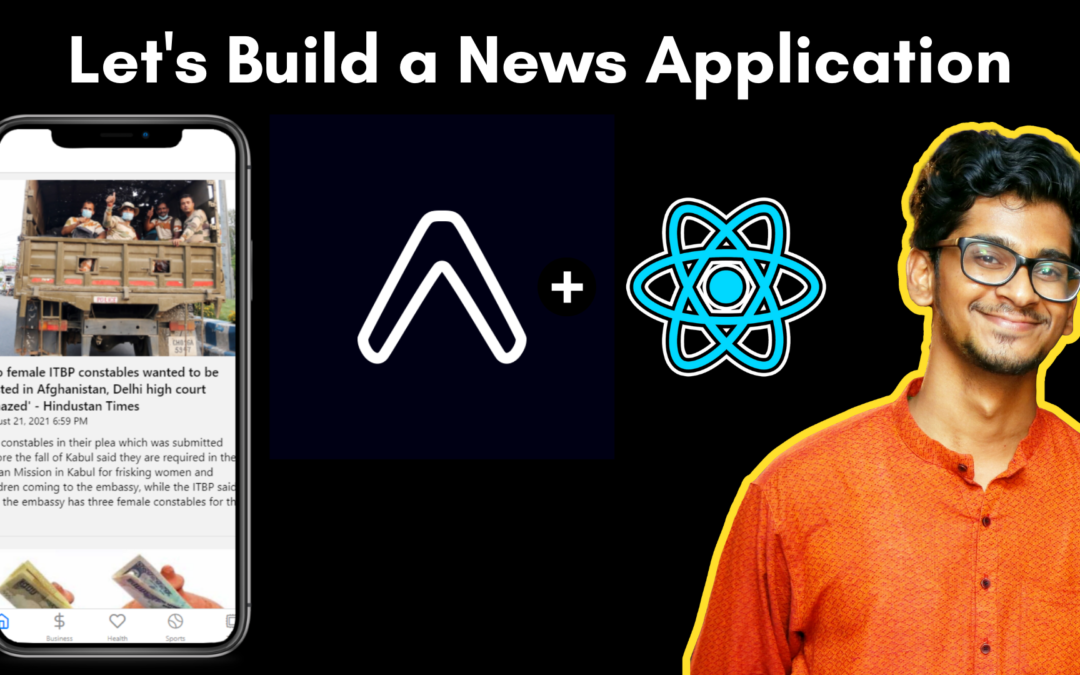
This is how our app will look when we’re done. So let’s jump right into it.
How to Install Expo
So, what is Expo? Expo is a framework that helps you build and deploy a React Native app quickly and easily.
Let’s install it.
Run this command in your terminal to install the Expo CLI. Here, we are using --global to make sure it installs everywhere.
After it has been installed, we need to create an Expo Project.
Use the above command to initialize the project. It will ask you a few questions, like the name of your application, whether you want add TypeScript in your project, or start with a blank project. Just select blank, and press enter.
Then, it will download all the packages and dependencies in the folder.
Now, after that’s done, navigate into the project folder. To start the application, type expo start. It will open up developer tools in the browser.
Here you’ll see many options on the left, like run on Android device/emulator, or on iOS simulator. We will run the application on the Web Browser, so click the Run in Web Browser option.
This is our App.js file, which contains the default boilerplate.
Now our application is running.
How to Create Different Screens using React Navigation
Now, let’s create various different screens for our application. For that, we will use React Navigation. So, let’s install it.
Head to https://reactnavigation.org/ and click Read Docs. It will open up the documentation page.
Let’s install React Navigation by using the command below:
Now, our React Navigation has been installed.
We will use bottomTabNavigator. So, from the left menu, choose API Reference, then Navigators, then the Bottom Tabs.
Let’s install the Bottom Tabs using the command below:
Now, in our App.js file, we need to import Bottom Tabs in order to use it.
So, import it like this:
Now, let’s import the Tab Screens.
This is how we create Bottom Tabs.
In our case, we need to do something like this:
We need to create these screens for the following tabs: All News, Business News, Sports News, Health News, and the Tech News. Also, create one component in the Project for each screen.
We need to wrap this TabNavigtor into a NavigationContainer like this:
We also need to import these all components, so import them at the top.
Now, if we put all the code together that we have written, we will get the below code:
And this will be our output:
We have five screens here for All, Business, Health, Sports and Tech.
Now, let’s make a few adjustments here. We need to change the icons for the bottom tabs.
To do that, we’ll need to get an icon library for our icons. For that we are going to use react-native-elements.
To install it, type the below command:
This icon package has lots of icon options to choose from.
Now let’s add our icons in the Bottom Tab Navigator.
Here we have added the icon named “home” for the home page and feather icon class for type.
This will yield the above output. And similarly, let’s repeat the same process for all of them.
Now each of our different tabs or screens are done, and they each have their own distinct icon.
How to Call the News API
Now, let’s call the News API from https://newsapi.org/
Go to this website and signup. It will give you an API key.
We need a config file to store all the News constants, so let’s create it.
We need the API_KEY, the endpoint, and the country code.
Now, we need to create a service for our GET API Request.
Create a file called services.js.
Here, import API_KEY, endpoint, and the country at the top.
Then, we will write our services body.
So, we are fetching the news data by using our endpoint, and appending the country and the category. In the function, we pass the category as general because that is the default category. We also pass the API_key in the headers.
Then, we convert the response, or incoming data, into JSON format and storing it in a result variable.
And lastly, we are returning it using the return keyword.
Here’s the whole file for your reference:
Now, we need to import this service into our All.js file.
We will need to use the useState and useEffect hooks. The useEffect hook will call this service within the All.js file and useState will create a state that will store the response coming from the API.
In this file, we call the services in our useEffect hook. And then we store the response in the newsData state, which is an array. We also pass a parameter for the category which is general.
This screen will fetch all news, so we use the general category. It will change for every other screen. It will be health for the Health screen, sports for Sports, and so on.
Now, we need to show this data in our interface. And for that, we need yet another package called Native Base. So, let’s install it.
Type the commands below to install Native Base:
In All.js, let’s import a few things from Native Base:
Then in the return, we will add NativeBaseProvider.
Then, let’s add the Scroll View. This will let users scroll if the news data goes beyond our screen height.
Now, let’s add the FlatList to show our news data.
The FlatList takes a data prop, which is our newsData state that we created earlier, and it returns an item from renderItems.
This is similar to map in JavaScript, which traverses over an array and returns an item. It also has a keyExtractor which we use to make each item unique.
Now, let’s show our data in the View.
Create one more view inside the parent view like this:
Now, let’s add some text inside the child view.
This contains our news headline title, the description, and the published date.
How to Style our React Native News App
This is how our app looks now, with news title, description, and the date. To make it look a bit nicer, we need to give it some styling.
Import StyleSheet from React Native at the top in order to use its styling.
Then, add styles like this. And at the bottom we need to create those styles.
This is how the application looks now after getting some styling. You can also scroll down the page.
Now, we need to change the date format to a readable format, because I don’t understand ‘2021-08-21T11:00:40Z’.
We’ll use the helpful moment.js package for that, so let’s install it using the command below:
Then, import it in our All.js screen:
Format the date like this:
The moment documentation gives us so many formats to choose from. I have chosen the ‘LLL’ format.
And now our dates are much more human-readable.
We also need a divider to separate the news articles from each other so they don’t all run together.
So, after adding a divider after the child view, our app looks like this:
Now our news headlines are divided which looks great.
This News API has an image too. So, let’s add it.
So, we have added the image and we used the key called urlToImage to do this.
Now we have the news images showing up.
How to Add a Spinner to Show News Loading
Let’s add a spinner that will show when the news is loading.
First, we will create a check. If the newsData state’s length is more than one, we will show our FlatList, which contains our news data. Otherwise we will show the loading spinner.
In other words, if the newsData state’s length is less than one, it means it is empty and the API is still getting called. Once the API call finishes, it will store the data into the newsData state, and the state’s length will change to more than one.
And in our styles, add the below style code for the spinner.
Here is the code below for your reference:
Our All.js screen is now complete.
And now, we can use the same code in all other screens as well. We just need to change the parameter we are passing in the services in the useEffect Hook.
So, for the Business screen, we will use business. For Health, we will use health, and so on.
Scroll down the Business Screen, and you will see the news related to Business.
And you can do the same for all the other screens:
Congratulations! Now our news application is complete.
So go ahead, build and experiment with it a bit. There are tons of things you can do.
You can check out my playlist on Build a News Application using React Native and Native Base, which is on my YouTube channel.
This content was originally published here.